%20(4).png)
How to Start a Makerspace in Your School A Step by Step Guide for Educators and Administrators
- Makerbazar
- Aug 2, 2025
- 7 min read

Updated: Sep 11, 2025
As the world strives to foster creativity and innovation in students, making education experiential and integrated has become more important than ever. Hence, makerspaces are now a significant part of school infrastructure and curriculum. A makerspace is a collaborative workspace that provides students with the tools and resources to create, design, and invent. By blending STEM education with hands-on learning, makerspaces enable students to engage in project-based learning, equipping them with valuable skills for the future. In this guide, we will outline the essential steps for starting a makerspace in your school, covering everything from selecting the right space to showcasing student work.
What is a Makerspace?
At its core, a makerspace is a physical location where individuals can come together to brainstorm, collaborate, and create. It typically contains tools, materials, and technologies that foster creativity, such as 3D printers, Arduino kits, woodworking tools, sewing machines, and more. The aim is to encourage students to explore their ideas, experiment with new concepts, and build projects that might solve some community problems.
Makerspaces can be tailored to suit different educational needs and can focus on various disciplines such as arts, sciences, or engineering.
Hands-On Learning
One of the key advantages of a makerspace in school is its emphasis on hands-on learning. This interactive approach allows students to engage with the material in a meaningful way, promoting deeper understanding and retention.
Through hands-on projects, students learn to apply theoretical concepts to real-world problems. For instance, while designing and making a small furniture piece, they learn so much about geometry, forces, materials, machining etc. which would take years if learnt in silos.
Various Types of Makerspaces
When planning your makerspace, consider what type will best serve your students' needs and interests. Here are a few examples:
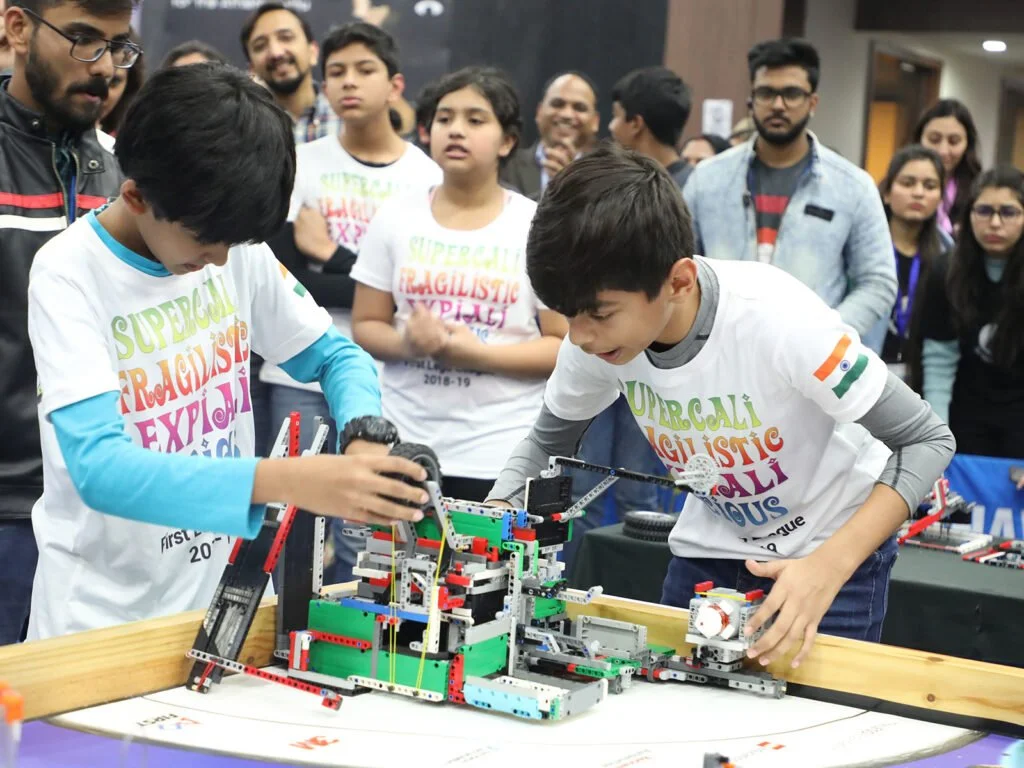
Tech-Focussed: Space includes digital fabrication technologies like 3D printing, laser cutter, coding, electronics and robotics. Most suitable for high schools and colleges.
Art and Craft Focussed: These include traditional art supplies, textiles, and crafting tools. Such a space can be incorporated into any other type of makerspace to enhance its functionality and appeal to a broader audience and range of projects.
Fabrication Focussed: In this scenario, the area is outfitted with more advanced and professional tools and machines, allowing users to create complex and nearly completed products. It is suitable for community use without any age restrictions.
STEM-Focused Makerspaces: Focuses on science, technology, engineering, and mathematics through interactive experiments and projects. Ideal for primary or middle school students.
The right type of makerspace can inspire students to dive deeper into their areas of interest while accommodating diverse learning styles.
Steps to Setup a Makerspace
Identify the Purpose
Determine who your audiences are and what goals you or they aim to accomplish. For instance, I am creating this makerspace for middle school students to provide hands-on experiences that allow them to apply their core subject knowledge. Alternatively, I am developing this makerspace to equip high school students with skills in the latest technologies, giving them an advantage as they transition to college or their careers. You may list down the goals and then move forward accordingly.
Budgeting & Funding
Once, your have identified the purpose of setting up the Makerspace. The next obvious step is get clarity on the finances. Discuss with your team or school management about the budget that can be allocated to setting up and operations of the Makerspace. Documenting your plan and a tentative budget will provide some reference to the discussion and will help in making a decision.
Also explore sources of financing your Makerspace; whether raising funds under CSR; charging a Makerspace fee; asking students to bring their own materials; government grants, competition prizes. You should try to access all possible means for long term sustainability of the Makerspace.
Prefer creating a long term budget to give better clarity to decision makers.
You may use the given template to create a financial plan:

Creating Programs and Curriculum
Based on the purposes identified while brainstorming about the Makerspace, start ideating about the programs and their curriculum for each of the determined audience and the goal.
Here are a few tips to create a successfull program for your makerspace:
Global or National Connect: Align with ongoing initiatives by government and industry. For example; projects around SDG's can give a global connect to your program.
Interdisciplinarity: Curriculum projects should be connected to multiple domains. It brings more excitement and meaning to the learning experience. For eg; a project on "building an exoskeleton that increases the weight lifting capacity of a warehouse worker" can include learning about human body structure, energy, forces, geometry, materials, motors, microcontrollers, sensors, coding and may be more.
Tech Trends: Consider creating a program (or a part of it) on latest technology trends. For eg; right now AI is in buzz. Creating a entire program on AI mixed with may be Robotics or IoT will bring more enrollments.
Mapping with Core Subjects: Connecting curriculum with topics or concepts in the core subjects like science and maths can create bigger academic impact, also making these subjects more meaningful for learners.
Tangible Products: Many makerspace instructors make a mistake by not focussing on the end product being built in a project or program. This eventually fades the purpose on a makerspace and converts it into a regular science or activity lab.
Open Endedness: Don't try to force an outcome on learners. Let students have voice and choice. Facilitate the to demonstrate their creativity in the project outcomes. Adding a capstone project at the end of the program can also add this flavour.
Materials: Try to be as open source and as frugal as possible. Kits are a great option to start but keeping loose materials and guiding students in selecting materials for their project boosts their confidence and bring variety to program outcomes.
Effective program management can engage students and promote continuous learning.

This makerspace planner template might be of some help.
Selecting the Space
Selecting the appropriate location for a makerspace is vital for its success. A decent makerspace can start from 1200 sq. ft. (approx. 35 ft. x 35 ft.) and may be as large as 10,000 sq.ft.. Optimal locations are generally spacious, easily accessible, well-lit (preferably with natural light), offer clear visibility, and have ample electrical outlets.
Consider repurposing an unused classroom, library section, or even a gymnasium. Create a welcoming and flexible environment where students feel inspired to explore and collaborate, even as they even walk towards the makerspace.
Designing the Space
Once you've selected the space, thoughtful design is essential. Here is a typical layout:

Zoning: Divide the area into zones for different activities (e.g., woodworking, 3D printing, electronics, and textiles).
Furniture: Utilize movable furniture to enable rapid reconfiguration according to project requirements. Choose different table surfaces depending on their purpose; for instance, use a cutting mat for heavy-duty tasks, and opt for a hardwood surface that can be easily repaired with minimal sanding and a coat of paint or varnish.
Storage: Provide sufficient storage options for materials and tools, ensuring students can easily access what they require. Maximize every available space for storage by utilizing pull-out bins, pegboards, under-table cabinets, and tall bins.
Showcase: Identify a place where projects are exhibited and makers are recognised.
Creating a comfortable and functional layout will encourage students to engage meaningfully in the makerspace.

Selecting Materials and Tools
The success of your makerspace hinges on the availability of appropriate materials and tools. The range of materials may range from general purpose to purpose specific based on the audience, goal, budget, curriculum and space. Materials can classified and procured accordingly. Makerbazar.in provides a large range of makerspace tools and provide heavy discounts for schools.
Basic Supplies: Start with essential tools like scissors, glue, and markers.
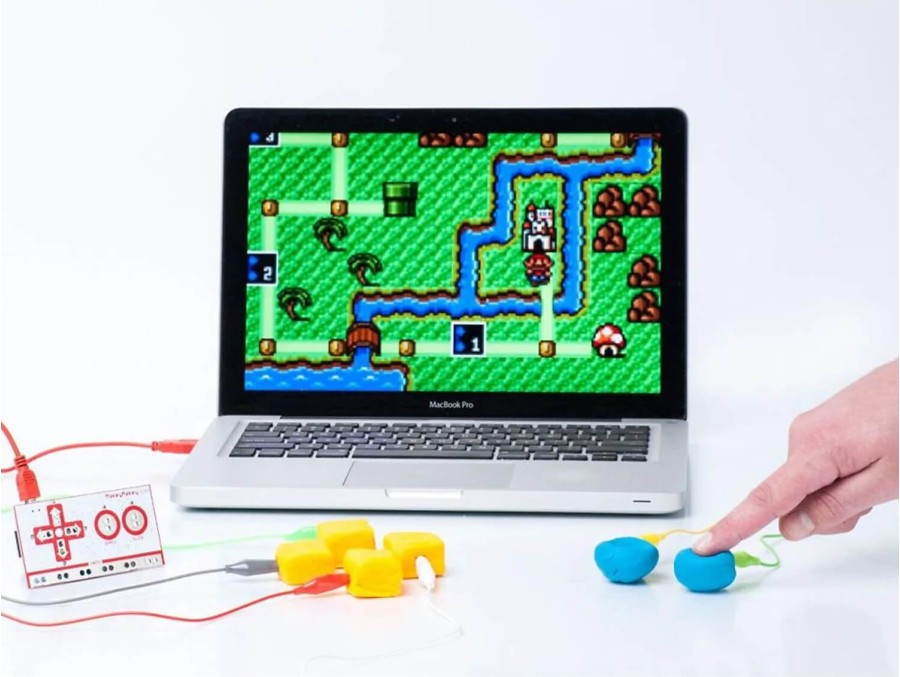
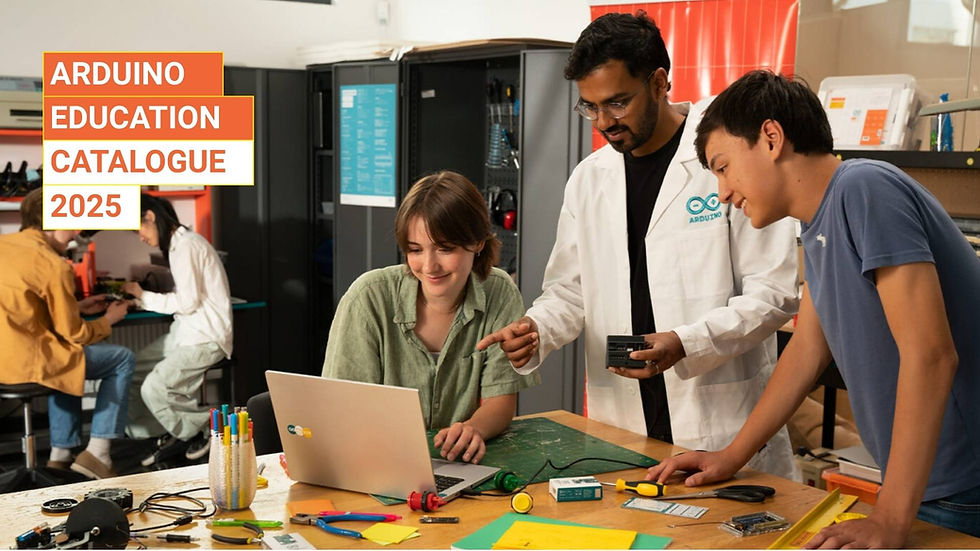
Technology: Get computing tools to add functions of computing, AI, robotics and IoT. Products by Arduino and Raspberry Pi are a must have.
Fabrication: Invest in a good quality 3D printer, a laser cutter (60W), drill machine and saw cutters. These tools last for many years and are worth the investment.
Recyclable Materials: Encourage creativity by providing items from recycled sources, like cardboard and plastic.
Selecting Coaches or Mentors
To facilitate learning in the makerspace, it's beneficial to have coaches or mentors who can guide students and assist with projects.
Identify Skills: Seek individuals with expertise in areas like coding, robotics, or design.
Collaborate with Local Experts: Partner with local businesses, colleges, or community organizations for guidance and mentorship opportunities.
Train Staff: Provide training for teachers interested in leading makerspace activities.
Having knowledgeable mentors encourages students to explore new technology and ideas with confidence while ensuring a supportive learning environment.
Creating Community
A successful makerspace thrives on community involvement and collaboration.
Engage Parents and Guardians: Involve parents in workshops or events to foster support and interest.
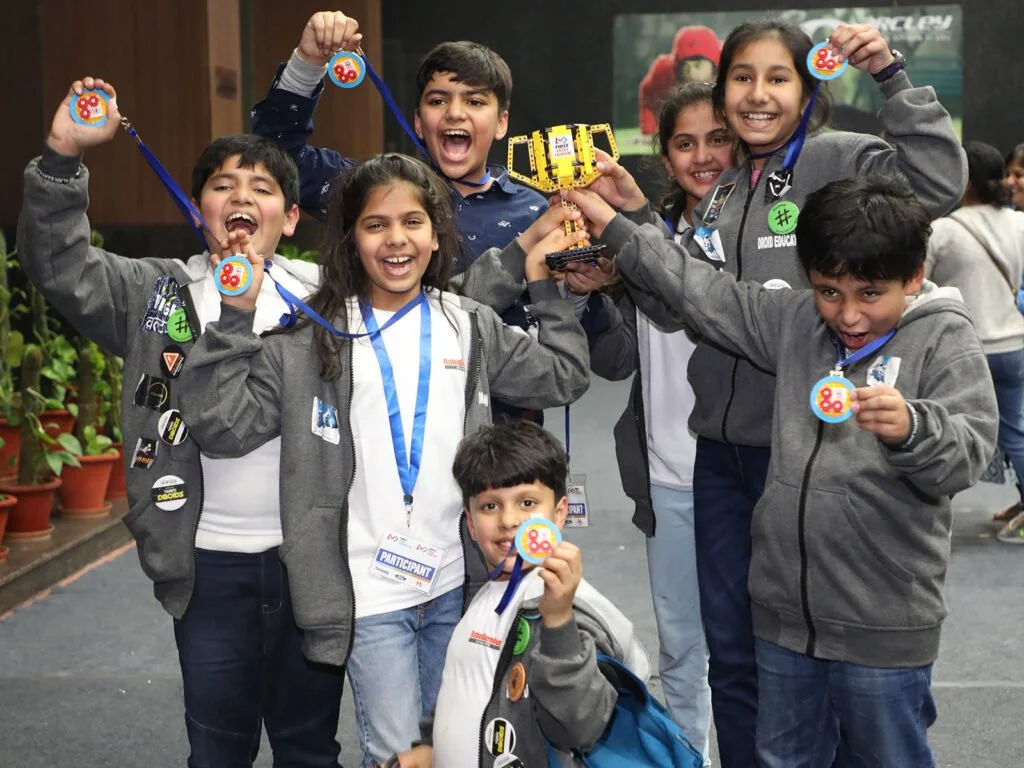
Showcase Work: Host exhibitions or open houses where students can present their projects to the community.
Partner with Local Organizations: Collaborate with community members and local businesses to create a network of support and resources for the makerspace.
A strong sense of community encourag
Showcasing Student Work
Finally, it’s essential to celebrate and showcase what students create within the makerspace.
Create a Gallery: Dedicate a section of the school to display student projects, allowing peers and visitors to appreciate their hard work.
Online Platforms: Utilize school websites or social media to share student achievements and progress.
Participate in Fairs: Engage with local or regional fairs to give students a platform to present their projects to a larger audience.
By showcasing student work, you validate their efforts and inspire others to join the makerspace movement.


Conclusion
Starting a makerspace in your school is an exciting opportunity to cultivate creativity, innovation, and hands-on learning among students. By following these steps—from selecting the right space to showcasing student work—you can create an inspiring environment that fosters exploration and collaboration.
As educators and administrators, prioritizing a makerspace will not only enhance the STEM curriculum but also prepare students for a rapidly-evolving world driven by creativity and technology. Embrace the journey and watch how a makerspace can transform your school community.

Comments